Getting Started with STM32F429BIT7: A Guide for Beginners
The STM32F429BIT7 is a powerful microcontroller from STMicroelectronics that is widely used in embedded systems and IoT applications. It features a 32-bit ARM Cortex-M4 processor, with up to 180 MHz clock frequency, 2 MB Flash memory, 256 KB SRAM, and a rich set of peripherals, including USB, Ethernet, CAN, UART, SPI, I2C, DMA, and more.
If you're new to STM32 microcontrollers or embedded systems in general, this guide will help you get started with the STM32F429BIT7 and explore its features and capabilities. We'll cover the following topics:
1. STM32F429BIT7 Overview
2. Hardware Requirements
3. Software Tools
4. Getting Started with STM32CubeMX
5. Creating a New Project
6. Configuring Peripherals
7. Generating Code
8. Building and Flashing the Code
9. Testing and Debugging
10. Next Steps
STM32F429BIT7 Overview
The STM32F429BIT7 is part of the STM32F4 series of microcontrollers, which are based on the ARM Cortex-M4 core and offer high performance, low power consumption, and rich peripherals. The STM32F429BIT7 is particularly suited for applications that require advanced graphics, such as human-machine interfaces (HMIs), medical devices, industrial automation, and gaming.
The following are some of the key features of the STM32F429BIT7:
ARM Cortex-M4 core with FPU and DSP instructions
Up to 180 MHz clock frequency
2 MB Flash memory
256 KB SRAM
Dual-bank Flash memory with read-while-write capability
External memory interface (EMI)
LCD-TFT controller with MIPI DSI and LTDC
JPEG hardware accelerator
DMA controllers with dedicated channels for each peripheral
USB, Ethernet, CAN, UART, SPI, I2C, I2S, SDIO, and more.
The STM32F429BIT7 comes in a LQFP176 package and has a wide range of operating conditions, from -40℃ to +85℃. It requires a single power supply of 1.8V to 3.6V and has a low power consumption in standby mode.
Hardware Requirements
To get started with the STM32F429BIT7, you'll need the following hardware:
STM32F429BIT7 development board (such as NUCLEO-F429ZI)
USB cable (Type A to Micro-B)
PC with Windows, Linux, or macOS
ST-Link/V2 debugger (embedded on the NUCLEO board)
External power supply (optional)
The STM32F429BIT7 development board comes with the microcontroller, a ST-Link/V2 debugger, and a set of connectors for easy access to the pins. You can power the board through the USB cable or an external power supply (depending on the application).
Software Tools
To develop and test code for the STM32F429BIT7, you'll need the following software tools:
STM32CubeMX: A graphical software configuration tool that allows you to generate C code for your STM32 microcontroller based on your specific requirements. You can download it for free from the ST website.
System Workbench for STM32: A free integrated development environment (IDE) for STM32 microcontrollers based on the Eclipse platform. You can download it for free from the AC6 website.
ST-LINK Utility: A software tool that allows you to program and debug your STM32 microcontroller using the ST-Link/V2 debugger that is embedded on the NUCLEO board. You can download it for free from the ST website.
Getting Started with STM32CubeMX
STM32CubeMX is a powerful tool that simplifies the configuration of the STM32 microcontroller and its peripherals. It allows you to select the microcontroller, configure the clock settings, and enable the peripherals you need for your application.
To get started with STM32CubeMX, you can follow these steps:
1. Download and install STM32CubeMX on your PC.
2. Open STM32CubeMX and create a new project for the STM32F429BIT7.
3. Select the STM32F429BIT7 microcontroller from the list and click on the "Start Project" button.
4. Configure the clock settings according to your requirements (e.g., set the HCLK to 180 MHz).
5. Enable the peripherals you need for your application (e.g., USART, GPIO, ADC).
6. Generate the C code for your project by clicking on the "Generate Code" button.
Creating a New Project
Once you have generated the C code for your project in STM32CubeMX, you can open System Workbench for STM32 and create a new project based on that code. To do this, follow these steps:
1. Open System Workbench for STM32 and create a new C project.
2. Select "Ac6 STM32 MCU GCC" as the toolchain.
3. Specify the project name and location, and click on "Finish".
4. From the main menu, select "File -> Import" and choose "General -> Existing Projects into Workspace".
5. Browse to the location of the project you generated with STM32CubeMX and select it.
6. Click on "Finish" to import the project into System Workbench.
Configuring Peripherals
Once you have imported the project into System Workbench, you can start configuring the peripherals you enabled in STM32CubeMX. To do this, you can open the "main.c" file and modify it according to your requirements.
For example, if you enabled the USART peripheral in STM32CubeMX, you can initialize it in the "main.c" file by using the following code:
HAL_UART_Init(&huart1); // Initialize USART1
Similarly, if you enabled the GPIO peripheral in STM32CubeMX, you can configure it in the "main.c" file by using the following code:
GPIO_InitTypeDef GPIO_InitStruct = {0};// Configure PC13 as a push-pull outputGPIO_InitStruct.Pin = GPIO_PIN_13;GPIO_InitStruct.Mode = GPIO_MODE_OUTPUT_PP;GPIO_InitStruct.Pull = GPIO_NOPULL;GPIO_InitStruct.Speed = GPIO_SPEED_FREQ_LOW;HAL_GPIO_Init(GPIOC, &GPIO_InitStruct);
Generating Code
Once you have configured the peripherals in the "main.c" file, you can generate the binary code that will run on the STM32F429BIT7. To do this, follow these steps:
1. From the main menu, select "Project -> Build All" to compile the code.
2. If there are no errors, you should see a "Build Finished" message in the Console view.
3. From the main menu, select "Run -> Debug" to start the debugging session.
4. The debugger will connect to the STM32F429BIT7 and load the binary code into its memory.
Building and Flashing the Code
To build the binary code and flash it into the STM32F429BIT7, you can use the ST-LINK Utility. Here's how:
1. Connect the STM32F429BIT7 development board to your PC using the USB cable.
2. Open the ST-LINK Utility and click on the "Connect" button.
3. If the STM32F429BIT7 is detected, you should see its details in the "Device Connect" tab.
4. From the main menu, select "Target -> Program & Verify" to flash the binary code into the microcontroller.
5. Wait for the programming process to complete (it may take a few seconds).
6. Disconnect the STM32F429BIT7 from your PC.
Testing and Debugging
Once you have flashed the binary code into the STM32F429BIT7, you can test and debug your application. You can use the debug perspective in System Workbench to set breakpoints, inspect variables, and step through the code.
To test your application, you can use the peripherals you enabled in STM32CubeMX. For example, if you enabled the USART peripheral, you can connect a serial terminal to the USART pins and send/receive data.
Next Steps
This guide has shown you how to get started with the STM32F429BIT7 and develop a basic application using STM32CubeMX and System Workbench for STM32. However, there's much more you can do with this powerful microcontroller.
If you want to learn more, here are some suggested next steps:
Read the datasheet and reference manual for the STM32F429BIT7.
Explore the other peripherals and features of the STM32F429BIT7.
Learn how to use advanced tools such as CUBE-Programmer and CUBE-Monitor.
Experiment with different development boards and sensors.
Join the STM32 community and share your projects with others.
Happy coding!
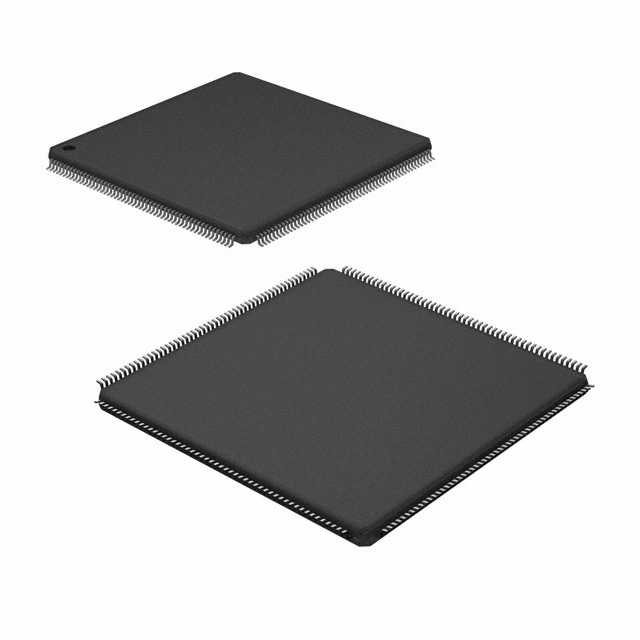
STM32F429BIT7
- Part Number :
- STM32F429BIT7
- Manufacturer :
- STMicroelectronics
- Description :
- IC MCU 32BIT 2MB FLASH 208LQFP
- Datasheet :
-
 STM32F429BIT7.pdf
- Unit Price :
- Request a Quote
- In Stock :
- 3820
- Lead Time :
- To be Confirmed
- Quick Inquiry :
- - + Add To Cart
Request a Quote
STM32F429BIT7 Specifications
- Package/Case:
- 208-LQFP
- Packaging:
- Tray
- Series:
- STM32F4
- ProductStatus:
- RoHS
- CoreProcessor:
- 180MHz
- CoreSize:
- 256K x 8
- Speed:
- 32-Bit
- Connectivity:
- -
- Peripherals:
- Active
- NumberofI/O:
- Brown-out Detect/Reset, DMA, I²S, LCD, POR, PWM, WDT
- ProgramMemorySize:
- CANbus, EBI/EMI, Ethernet, I²C, IrDA, LINbus, SPI, UART/USART, USB OTG
- ProgramMemoryType:
- Surface Mount
- EEPROMSize:
- 168
- RAMSize:
- ARM® Cortex®-M4
- Voltage-Supply(Vcc/Vdd):
- A/D 24x12b; D/A 2x12b
- DataConverters:
- Internal
- OscillatorType:
- 2MB (2M x 8)
- OperatingTemperature:
- FLASH
- MountingType:
- -40°C ~ 105°C (TA)
STM32F429BIT7 Guarantees

-
Service Guarantees
We guarantee 100% customer satisfaction.
Our experienced sales team and tech support team back our services to satisfy all our customers.

-
Quality Guarantees
We provide 90 days warranty.
If the items you received were not in perfect quality, we would be responsible for your refund or replacement, but the items must be returned in their original condition.
Certified Quality
 View the Certificates

